Have you ever thought about making a gingerbread house for Halloween? I hadn’t. But in “A Year of Gingerbread Houses: Making & Decorating Gingerbread Houses for All Seasons,” Kristine Samuell has. She offers recipes, both easy and especially advanced, for making and decorating gingerbread houses not only for Christmas and Halloween, but also for Valentine’s Day and in unexpected styles such as Kari’s Ski Cabin.
The book include patterns for these houses, plenty of decorating tips, piping templates and long lists of the supplies, such as meringue powder, parchment cones and a pizza cutter, to name just a very few of the more than 30 tools and pieces of equipment she recommends you have. Her instructions are clear and very detailed.
The recipe for the gingerbread dough was straightforward and easy to follow, good for a beginner like me. It included adjustments the baker could make to allow for darker, lighter or spicier flavors. Once it had baked, its consistency and texture reminded me of packaged store-bought kits I’ve used before, but it was much tastier.
The tricky part for me was cutting the dough evenly and precisely to ensure it would stand up when I constructed the house. I traced out one of the pattern designs (each can be scaled up or down), on parchment paper as I didn’t have cardboard at home, the material the book suggested I use. Bad idea. Next time, I’ll definitely use cardboard.
The frosting recipe called for non-pastured eggs, explaining they make the frosting more fluffy. Serendipity! Since I raise my own chickens, that part of the recipe worked out nicely for me. The frosting, too, tasted really good – I couldn’t resist a few finger licks as I was decorating the house.
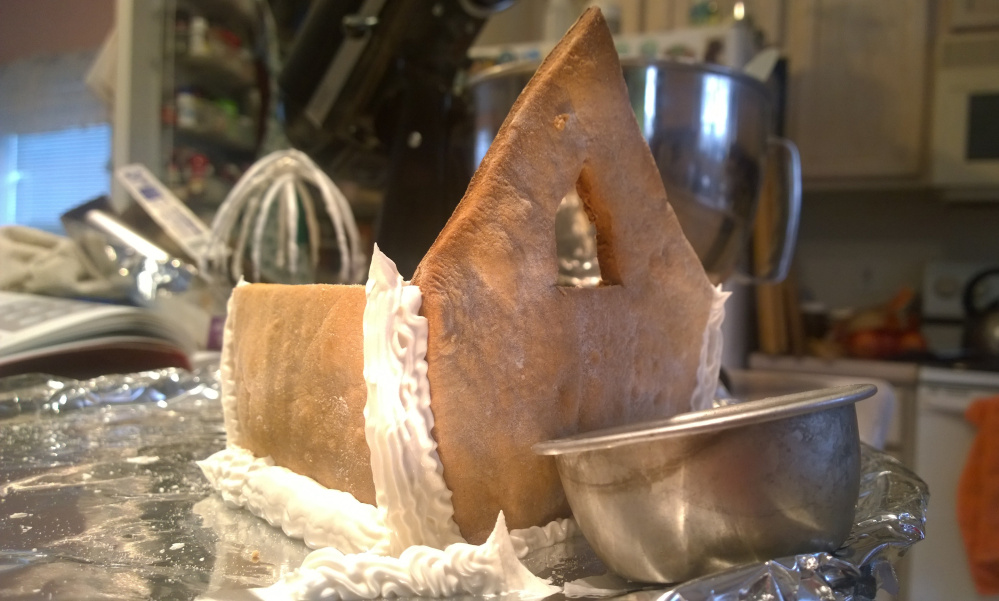
I found out the hard way that the trick to get the house to stand on its own was to wait at least 20 minutes to let the frosting set. I was impatient at first, so my house collapsed three times before I finally got the hang of it.
Construction complete, I turned to decorating, a serious business. For instance, for the Winter Wonderland house, you need to make windows from royal icing; pipe trees of two different sorts; create dog bowls and pastillage (a dough that dries very hard) holly leaves; pipe green wreaths and garland swags; trace a fireplace with a graphite pencil, then go over it with piped icing; tile the roof with wafers; form icicles with a pastry bag – and that’s not even the half of it. Samuell also explains how to light your gingerbread house, either from the inside or out.
Each project comes with a list of “Time Savers,” which is good for a baker like me. I’m not fancy nor a good decorator. I just like to put on as much candy and frosting as I can, so I can pick it off and eat it over time. I guess that’s why I like what Samuell says about her own attitude when she was learning to make gingerbread houses: “Make a mistake, cover it with a gumdrop. Make a bigger mistake, add a tree or a gingerbread man.”
Helpfully, the book includes lots of photographs of beautiful, intricate houses and house parts (fireplaces, windows, doors) to inspire the aspiring gingerbread house maker. If you are very serious about the project, know that you’ll need the right decorating tools as well as a lot of time, patience and practice.
— GAETANA ALMEIDA
GINGERBREAD FOR CONSTRUCTION
According to Kristine Samuell, this dough holds its shape well. She substitutes corn syrup and honey for part of the usual molasses, because the honey hardens the dough and the corn syrup lightens it.
1/2 cup butter
1 cup sugar
1/3 cup light corn syrup
1/3 cup molasses
1/3 cup honey
4 teaspoons ground ginger
2 tablespoons cinnamon
1 teaspoon salt
6+ cups all-purpose flour
1/2+ cup water
Preheat the oven to 350 degrees F. Cream the butter and sugar. Beat in the corn syrup, molasses, honey, ginger, cinnamon and salt. Add the flour and water slowly, alternating between them.
Knead the dough, adding more flour or water as needed. The dough should be stiff enough for rolling. If you prefer, chill the dough before rolling.
Bake the gingerbread on parchment paper or a lightly greased baking sheet. The baking time depends on the thickness of the cookie you are making.
Send questions/comments to the editors.


Comments are no longer available on this story